Do you want to record vocals with a condenser mic, but you’re not sure how to position it? Proper mic placement is crucial to achieving high-quality recordings. Whether you’re a seasoned pro or a beginner, you need to know the basics of mic placement to get the best results.
Understanding condenser microphones is the first step in getting the most out of your recording setup. Condenser mics are highly sensitive and can capture a wide range of frequencies, making them ideal for recording vocals. However, they can also pick up unwanted background noise and room acoustics, so it’s important to choose the right microphone and set up your recording space correctly.
Key Takeaways
- Proper mic placement is crucial for high-quality vocal recordings with a condenser mic.
- Understanding condenser microphones is essential for optimizing recording quality.
- Setting up your recording space correctly can help minimize unwanted background noise and room acoustics.
Related Posts:
Table of Contents
ToggleUnderstanding Condenser Microphones
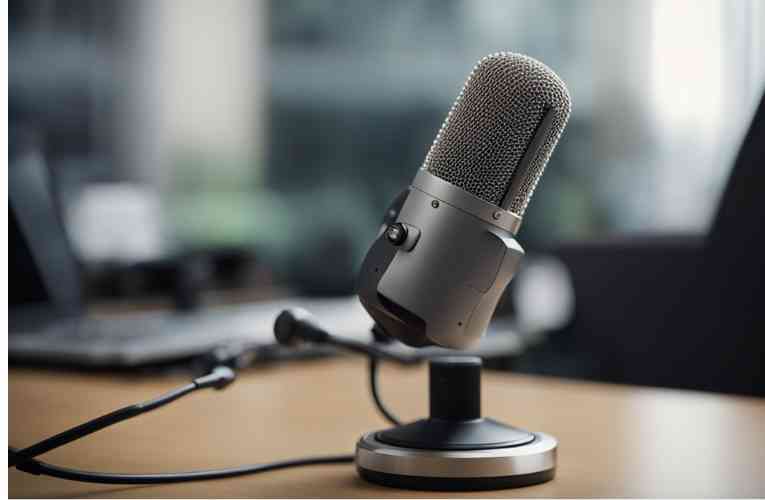
If you’re new to recording audio, you may be wondering what a condenser microphone is and how it differs from other types of microphones. In this section, we’ll cover the basics of condenser microphones and how they work.
Types of Condenser Mics
There are two main types of condenser microphones: large diaphragm and small diaphragm. Large diaphragm condenser microphones are typically used for recording vocals and other sources where a warm, full-bodied sound is desired.
Small diaphragm condenser microphones, on the other hand, are often used for recording acoustic guitars, drum overheads, and other sources where a more detailed, accurate sound is required.
Polar Patterns Explained
Condenser microphones are also known for their ability to capture sound in different polar patterns. The most common polar patterns are cardioid, omnidirectional, and figure-8. A cardioid microphone is most sensitive to sound coming from the front, while rejecting sound from the sides and rear.
An omnidirectional microphone, as the name suggests, is equally sensitive to sound coming from all directions. A figure-8 microphone is most sensitive to sound coming from the front and rear, while rejecting sound from the sides.
Proximity Effect
One unique characteristic of condenser microphones is the proximity effect. This is a phenomenon where the bass frequencies are accentuated when the microphone is placed close to the sound source. This can be used to your advantage when recording vocals or other instruments where a warmer, fuller sound is desired. However, it’s important to be aware of the proximity effect and adjust your microphone placement accordingly.
Related Posts:
Setting Up Your Recording Space
When it comes to recording vocals, the right recording space can make all the difference. Here are some key factors to consider when setting up your recording space:
Room Acoustics
The acoustics of your recording space are crucial to achieving a clear and professional sound. A room with hard surfaces like concrete or tile can create unwanted echoes and reverberation, while a room with too much soft material like carpet or curtains can absorb too much sound and create a dead, lifeless sound.
To achieve the best sound, you want to find a balance between hard and soft surfaces. One way to do this is by using acoustic panels or foam to treat the walls. These materials can help absorb unwanted echoes and reverberation, creating a more controlled sound.
Mic Stand Positioning
The position of your mic stand is also important. You want to make sure the stand is sturdy and won’t move around during recording. The height of the stand should be adjusted so that the microphone is level with your mouth when you’re standing comfortably.
Another important factor is the distance between the microphone and your mouth. This distance can affect the clarity and volume of your vocals. Generally, you want to position the microphone about 6-8 inches away from your mouth. However, this distance can vary depending on the type of microphone you’re using and the sound you’re trying to achieve.
Pop Filter Placement
A pop filter is a mesh screen that is placed in front of the microphone to reduce popping sounds (caused by plosive consonants like “P” and “B”) and to protect the microphone from saliva.
When positioning your pop filter, make sure it’s about 2-3 inches away from the microphone. This will help prevent any unwanted sounds from being picked up by the microphone while still protecting it from saliva.
By paying attention to these key factors, you can create a recording space that will help you achieve the best possible sound for your vocals.
How do you position your condenser mic for vocals?
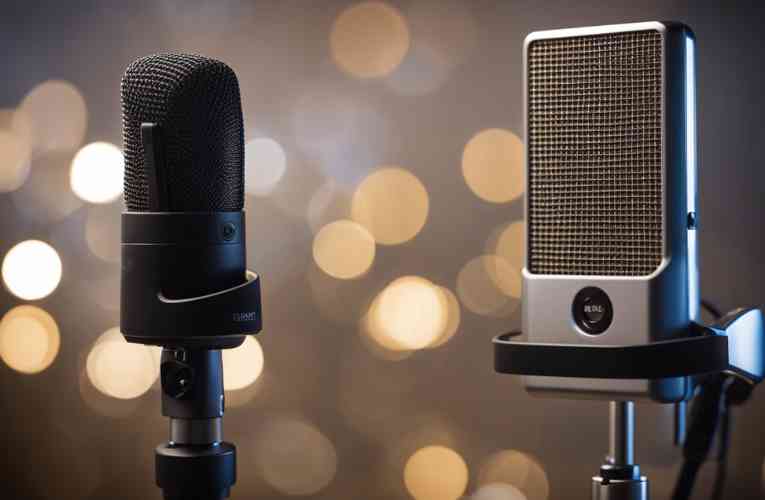
When it comes to recording vocals, the position of your condenser microphone is crucial to achieving the best sound quality possible. Here are some tips to help you get the most out of your recording:
Distance from the Source
The distance between the microphone and the vocalist is one of the most important factors to consider. If the microphone is too close to the vocalist, it can result in an overly pronounced bass response, while placing the microphone too far away can lead to a loss of clarity and detail.
A good rule of thumb is to position the microphone about 6 to 12 inches away from the vocalist. This distance can vary depending on the style of music you are recording and the desired sound you are trying to achieve.
Angle and Elevation
The angle and elevation of the microphone can also affect the sound quality of your recording. Positioning the microphone at a slight angle towards the vocalist can help to reduce plosive sounds, such as “p” and “b” sounds, while elevating the microphone slightly above the vocalist’s mouth can help to capture more of the upper harmonics of their voice.
Experimenting with different angles and elevations can help you find the perfect position for your microphone.
Vertical Alignment
The vertical alignment of the microphone is another factor to consider. Placing the microphone too high or too low can result in an uneven sound, while positioning it at the same level as the vocalist’s mouth can help to capture a more balanced sound.
Remember, the position of your condenser microphone will vary depending on the vocalist, the style of music, and the desired sound you are trying to achieve. Experiment with different positions and take the time to listen to the results to find the perfect position for your recording.
Related Posts:
- Finding the right distance for your condenser mic and vocals
- Improving your singing skills with a condenser microphone
Optimizing Recording Quality
When it comes to recording vocals with a condenser microphone, optimizing recording quality is essential.
Gain Staging
Gain staging is the process of setting the levels of your signal chain to ensure that the signal is neither too quiet nor too loud. This is important because if the signal is too quiet, it will be difficult to hear, and if it is too loud, it will distort. To optimize recording quality, you need to make sure that your gain staging is set correctly.
To do this, start by setting the gain on your preamp to the lowest possible setting. Then, start singing or speaking into the microphone at your normal volume. Slowly increase the gain on the preamp until the signal is at an appropriate level. You can use a level meter on your recording software to help you set the gain correctly.
Monitoring Levels
Monitoring levels are the levels at which you listen to the recording while you are recording. If the monitoring levels are too high, it can cause distortion, and if they are too low, it can make it difficult to hear what you are recording. To optimize recording quality, you need to make sure that your monitoring levels are set correctly.
To do this, start by setting the monitoring level to a comfortable volume. Then, start singing or speaking into the microphone at your normal volume. Adjust the monitoring level until the recording is at an appropriate level. You can use a level meter on your recording software to help you set the monitoring level correctly.
Testing and Adjusting
Once you have set your gain staging and monitoring levels, it is important to test and adjust the recording to make sure that it sounds good. To do this, start by recording a short segment of your vocals. Then, listen back to the recording and make any necessary adjustments to the gain staging and monitoring levels.
If you notice any issues with the recording, such as distortion or background noise, you may need to adjust the gain staging or monitoring levels further. Keep testing and adjusting until you are satisfied with the recording quality.
By following these three key areas, you can optimize recording quality when recording vocals with a condenser microphone.
Related Post
Conclusion
Positioning your condenser microphone correctly is crucial to achieving clear and professional vocals. Remember to choose the right microphone for your needs, prepare your recording space, and connect the mic to your setup. Once you have done that, you can position the mic correctly relative to your voice box during singing or speaking sessions.
Consider adjusting settings on software like gain or equalization to enhance your sound quality. Keep in mind that the chosen location should consider the nature of the sound source, the microphone’s polar pattern, and the acoustic properties of the recording environment.
By following these steps, you can achieve high-quality audio recordings that capture the full range of your voice. With a little practice and experimentation, you can find the perfect position for your condenser microphone to achieve the sound you desire.
Frequently Asked Questions
How should a condenser mic be angled for optimal vocal recording?
When positioning your condenser mic for vocal recording, it is important to angle the microphone capsule towards your mouth. This will ensure that the microphone captures your voice clearly and accurately. The optimal angle will depend on the type of microphone you are using and your vocal style, so it is recommended to experiment with different angles to find the best position for your voice.
What are the best practices for mic placement when recording female vocals?
When recording female vocals, it is important to position the microphone slightly above the singer’s mouth to capture the full range of their voice. Additionally, it is recommended to use a pop filter to reduce plosive sounds that may occur during recording. Experimenting with different mic positions and angles can help you find the best placement for your particular recording setup.
Can microphone positioning affect the quality of voice-over recordings?
Yes, microphone positioning can significantly affect the quality of voice-over recordings. Placing the microphone too close to the mouth can cause distortion, while placing it too far away can result in a weak or muffled sound. It is recommended to experiment with different mic positions and angles to find the best placement for your voice-over recordings.
What techniques should singers use to ensure clear audio capture with a condenser mic?
Singers should use proper microphone technique to ensure clear audio capture with a condenser mic. This includes maintaining a consistent distance from the microphone, using a pop filter to reduce plosives, and avoiding sudden movements or changes in volume. Additionally, it is recommended to experiment with different mic positions and angles to find the best placement for your particular voice.
How does mic placement vary for different vocal recording scenarios, such as streaming or gaming?
Mic placement can vary for different vocal recording scenarios, such as streaming or gaming. For example, when streaming, it is recommended to use a cardioid microphone positioned close to your mouth to capture your voice clearly and reduce background noise. When gaming, it is recommended to use a headset microphone positioned slightly away from your mouth to avoid breathing noises and reduce plosives. Experimenting with different mic positions and angles can help you find the best placement for your particular recording scenario.

