How far should a condenser mic be from vocals? It’s a question that’s often asked by recording enthusiasts and professionals alike. Getting the right distance between the mic and the vocalist is crucial in achieving the desired sound quality. It’s a simple yet often overlooked aspect of recording that can make all the difference.
In this article, we’ll explore the different techniques and considerations for setting up a condenser mic for vocals. We’ll cover the optimal distance between the mic and the vocalist, as well as other factors that can affect the recording quality. Whether you’re a beginner or a seasoned pro, this article will provide you with valuable insights to help you achieve better vocal recordings.
Key Takeaways
- The distance between the condenser mic and the vocalist is crucial in achieving the desired sound quality.
- Proper mic placement and room acoustics are important factors to consider when recording vocals.
- Post-recording considerations such as EQ and compression can further enhance the vocal recording.
Table of Contents
ToggleHow far should a condenser mic be from vocals?
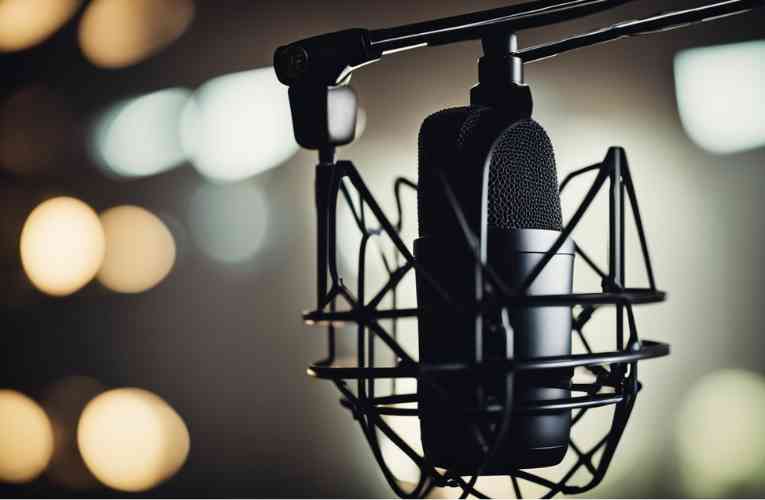
When it comes to recording vocals with a condenser microphone, the distance between the microphone and the vocalist is crucial in determining the quality of the recording. There are several factors that affect the optimal distance, including the microphone’s polar pattern, the vocalist’s projection, and the desired sound.
Distance Factors
The polar pattern of a microphone plays a significant role in determining the optimal distance from the vocalist. For example, a cardioid microphone has a heart-shaped polar pattern, and it is most sensitive to sound sources directly in front of it. Therefore, the optimal distance for a cardioid microphone is typically 6-12 inches away from the vocalist.
On the other hand, a microphone with a figure-8 polar pattern is equally sensitive to sound sources in front of and behind it, so the optimal distance is typically greater than 12 inches.
Another factor to consider is the vocalist’s projection. If the vocalist has a powerful voice, they can project sound further, and the microphone can be placed further away. Similarly, if the vocalist has a softer voice, the microphone should be placed closer to capture the sound accurately.
Proximity Effect
The proximity effect is another factor to consider when determining the optimal distance for a condenser microphone. The proximity effect refers to the increase in bass frequencies when a sound source is close to the microphone. Therefore, if you want a warmer, bass-heavy sound, you can move the microphone closer to the vocalist.
Conversely, if you want a more natural, balanced sound, you should move the microphone further away.
In conclusion, the optimal distance between a condenser microphone and vocals depends on several factors, including the microphone’s polar pattern, the vocalist’s projection, and the desired sound. As a general rule, a distance of 6-12 inches is a good starting point for most cardioid microphones. However, it is essential to experiment with different distances and microphone placements to find the optimal sound for your recording.
Related Posts:
Setting Up the Condenser Mic
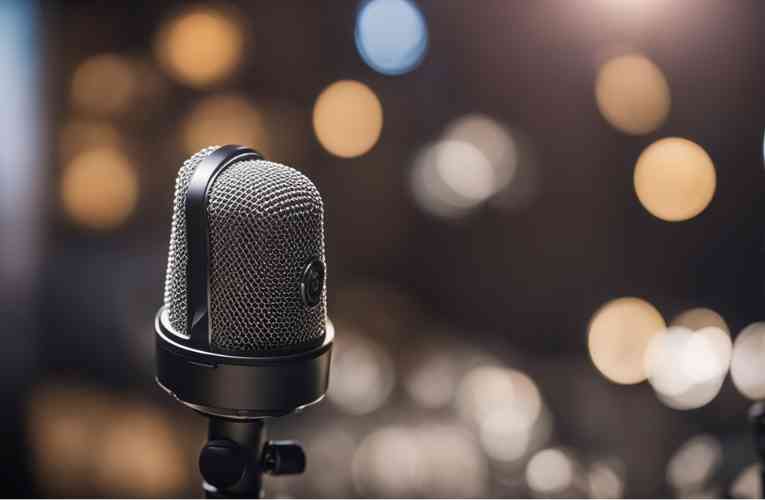
When it comes to recording vocals, one of the most important factors to consider is the distance between the singer and the microphone. In general, the ideal distance for a condenser mic is about 6-8 inches from the singer’s mouth. This distance can vary depending on the vocalist’s style, the mic’s sensitivity, and the recording environment. Here are some tips on how to set up your condenser mic for optimal vocal recording.
Microphone Stands
A good microphone stand is essential for proper mic placement. When choosing a stand, make sure it is sturdy enough to hold the weight of your microphone and adjustable enough to allow you to position the mic at the correct height and angle.
A stand with a boom arm can be particularly useful, as it allows you to adjust the position of the mic without moving the stand itself.
Pop Filters
A pop filter is a device that attaches to the front of your microphone and helps to reduce plosives and other unwanted noises that can occur when recording vocals. Plosives are the harsh, popping sounds that can occur when you say words that begin with “p,” “b,” or “t.” To use a pop filter, simply attach it to the front of your mic and position it about 2-3 inches away from the mic itself. This will help to prevent plosives from reaching the mic and distorting your recording.
Shock Mounts
A shock mount is a device that attaches to your microphone stand and helps to isolate your mic from vibrations and other unwanted noises that can occur during recording. This can be particularly useful if you are recording in a noisy environment or if you are using a mic stand that is not very stable.
To use a shock mount, simply attach it to your mic stand and then attach your microphone to the shock mount itself. This will help to reduce unwanted noise and ensure that your recordings are as clean and clear as possible.
By following these tips and using the right equipment, you can ensure that your condenser microphone is set up properly for optimal vocal recording.
Related Post
- Advantages of condenser microphones explained
- Can a condenser mic be connected directly to speakers?
Techniques for Recording Vocals
When recording vocals, it is important to consider the singing dynamics and microphone techniques to ensure that the final product is of high quality. Here are some tips on how to record vocals effectively.
Singing Dynamics
When recording vocals, it is important to take into consideration the dynamics of the singer. A good singer will know how to control their voice and vary their volume and intensity. However, it is also important to ensure that the microphone is not overloaded by the singer’s dynamics, which can result in distortion.
To prevent this, it is recommended to use a pop filter or windscreen to reduce plosives and sibilance. Additionally, you can use a compressor to even out the dynamics and ensure that the vocals are consistent.
Mic Techniques
Mic placement is crucial when recording vocals. The distance between the singer and the microphone can affect the sound quality. Generally, it is recommended to place the microphone approximately 6-8 inches away from the singer to capture a clear and natural sound.
However, the optimal distance can vary depending on the microphone and the singer’s voice. It is recommended to experiment with different distances to find the best sound.
Another important factor to consider is the angle of the microphone. It is recommended to position the microphone at a slight angle to the singer’s mouth to prevent plosives and sibilance. Additionally, it is recommended to use a shock mount to reduce handling noise and vibrations.
Related Posts:
Post-Recording Considerations
Once you have recorded your vocals with the condenser microphone, there are a few post-recording considerations that you should keep in mind to ensure that your final product sounds as good as possible.
Audio Editing
Before you start mixing your vocals, it’s a good idea to do some basic audio editing. This can include removing any background noise, adjusting the volume levels, and adding any necessary effects. You can use a digital audio workstation (DAW) such as Pro Tools, Logic Pro, or Ableton Live to do this.
One common audio editing technique is to use a noise gate to remove any unwanted background noise. A noise gate is a tool that allows you to set a threshold level below which any sound will be muted. This can be useful for removing things like computer fan noise or other ambient sounds that may have been picked up by the microphone.
Another important aspect of audio editing is adjusting the volume levels. You want to make sure that your vocals are loud enough to be heard clearly, but not so loud that they overpower the rest of the mix. Use your ears to judge what sounds good, and make adjustments as necessary.
Mixing Vocals
Once you have edited your vocals, it’s time to mix them into your final product. Mixing is the process of balancing all of the elements in your mix so that they sound good together. This includes adjusting the volume levels, panning, and adding effects.
When mixing vocals, it’s important to make sure that they sit well in the mix. You want them to be clear and easy to understand, but not so prominent that they overpower everything else. One technique for achieving this is to use EQ to remove any frequencies that are clashing with other elements in the mix.
Another important aspect of mixing vocals is adding effects such as reverb or delay. These effects can help to make your vocals sound more interesting and dynamic. However, it’s important to use them sparingly and tastefully, as too much can make your vocals sound muddy or washed out.
Conclusion
In conclusion, the optimal distance between a condenser microphone and vocals depends on various factors such as the type of microphone, the desired sound, and the recording environment. Generally, for a cardioid condenser microphone, a distance of 6-8 inches is recommended for vocals. However, it is crucial to experiment with different distances to find the sweet spot that works best for your recording.
Remember to position the microphone at a 45-degree angle to the vocalist’s mouth to minimize plosives and sibilance. Also, make sure to use a pop filter to reduce unwanted noise caused by breaths and plosives.
When recording in a noisy environment, consider using a dynamic microphone as it is less sensitive and can help reduce background noise. However, if you are looking for a high level of detail and clarity, a condenser microphone may be a better option.
Overall, proper microphone placement and technique play a significant role in achieving a quality vocal recording.
Frequently Asked Questions
What is the optimal distance between a singer and a condenser microphone?
The ideal distance for a condenser microphone is usually between 6-8 inches from the singer’s mouth. However, this distance can vary based on the vocalist’s style, the microphone’s sensitivity, and the recording environment. For instance, if the singer is belting out high notes, the microphone should be placed slightly farther away to avoid distortion. Similarly, if the singer is using a whispering or breathy vocal technique, the microphone should be placed closer to the mouth to capture the nuances of the performance.
What are the best practices for condenser microphone placement during vocal recording?
The best practices for condenser microphone placement during vocal recording involve finding the sweet spot where the microphone can capture the singer’s voice with clarity and detail. This involves experimenting with different distances, angles, and positions until the desired sound is achieved. Some tips for optimal microphone placement include positioning the microphone at a 45-degree angle to the singer’s mouth, using a pop filter to minimize plosives, and placing the microphone slightly above the singer’s mouth to avoid capturing unwanted sounds.
How does microphone distance affect vocal recording quality with a condenser mic?
Microphone distance can have a significant impact on vocal recording quality with a condenser microphone. If the microphone is too far away, the recording may lack clarity and detail. Conversely, if the microphone is too close, the recording may be distorted or muffled. Finding the optimal distance involves striking a balance between capturing the nuances of the performance while minimizing unwanted sounds.
Can you be too close to a condenser microphone when recording vocals?
Yes, you can be too close to a condenser microphone when recording vocals. If the microphone is too close to the mouth, the recording may be distorted or muffled, and the singer may be prone to popping or breathing sounds. To avoid this, it is recommended to position the microphone at a distance of at least 6 inches from the singer’s mouth.
What are the consequences of incorrect microphone placement for vocal recording?
Incorrect microphone placement can have several consequences for vocal recording. These include distorted or muffled sound, unwanted noise, and poor clarity and detail. Additionally, incorrect microphone placement can result in a subpar recording that requires additional editing and post-production work.
How does distance from a condenser mic vary for different vocal techniques?
Distance from a condenser microphone can vary for different vocal techniques. For instance, if the singer is belting out high notes, the microphone should be placed slightly farther away to avoid distortion. Similarly, if the singer is using a whispering or breathy vocal technique, the microphone should be placed closer to the mouth to capture the nuances of the performance. Experimentation is key to finding the optimal distance for different vocal techniques.

