Are you tired of the poor sound quality of your Android phone’s built-in microphone? Do you want to improve the audio quality of your recordings or video calls? Look no further than using an external microphone on your Android device! In this article, we will guide you through the process of choosing the right microphone and using it effectively with your Android phone.
Whether you’re a content creator, journalist, or just someone who wants to improve their audio quality, using an external microphone on your Android phone can make a big difference. But with so many different types of microphones available, it can be overwhelming to choose the right one.
Don’t worry, we’ve got you covered! We’ll help you choose the perfect microphone for your needs and show you how to use it effectively with your Android device.
Choosing the Right Microphone
If you want to improve the audio quality of your Android device, using an external microphone is a great option. However, choosing the right microphone can be a daunting task. In this section, we will discuss the different types of external microphones, compatibility with Android devices, and considerations for quality and price.
Types of External Microphones
There are several types of external microphones available in the market. Some of the popular ones are:
- Lavalier Microphones: Also known as lapel microphones, these are small and discreet, and can be clipped to your clothing. They are great for recording interviews or speeches.
- Shotgun Microphones: These are directional microphones that capture sound from a specific direction. They are great for recording videos and vlogs.
- USB Microphones: These are plug-and-play microphones that connect to your Android device via USB. They are great for recording podcasts and voiceovers.
Compatibility with Android Devices
Not all external microphones are compatible with Android devices. Before purchasing a microphone, make sure it is compatible with your Android device. Some microphones may require an adapter to connect to your device.
Considerations for Quality and Price
When choosing an external microphone, consider the quality and price. Higher quality microphones will produce better sound, but they can be expensive. If you are on a budget, there are affordable options available as well.
It is also important to consider the purpose of your recordings. If you are recording for professional use, it may be worth investing in a higher quality microphone. However, if you are recording for personal use, a more affordable option may suffice.
Related Posts:
How to use an external microphone on android?
Using an external microphone on your Android device can greatly improve the audio quality of your recordings. Here are the steps to get started:
Connecting the Microphone
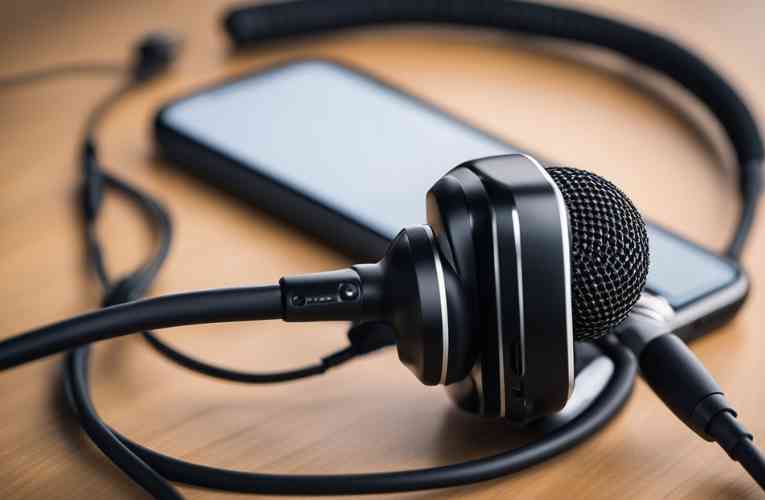
The first step is to connect your external microphone to your Android device. You can do this in several ways, depending on the type of microphone you have:
- 3.5mm jack: If your microphone has a 3.5mm jack, you can connect it directly to your Android device’s headphone jack using a TRRS adapter. Some newer Android devices may require a USB-C to 3.5mm adapter.
- USB: If your microphone has a USB port, you can connect it to your Android device using a USB OTG (On-The-Go) cable. This cable allows your Android device to act as a host, enabling it to read the data from your microphone.
Mounting Options
Once you have connected your external microphone to your Android device, you need to mount it. There are several mounting options available, depending on your needs:
- Handheld: If you are recording a video or audio clip while holding your device, you can hold the microphone in your other hand and position it close to your mouth.
- Lapel: If you need to move around while recording, you can use a lapel microphone. This type of microphone clips onto your clothing and is positioned near your mouth.
- Boom: If you are recording a video or audio clip while sitting at a desk, you can use a boom microphone. This type of microphone is mounted on a stand or arm and can be positioned close to your mouth.
Initial Configuration
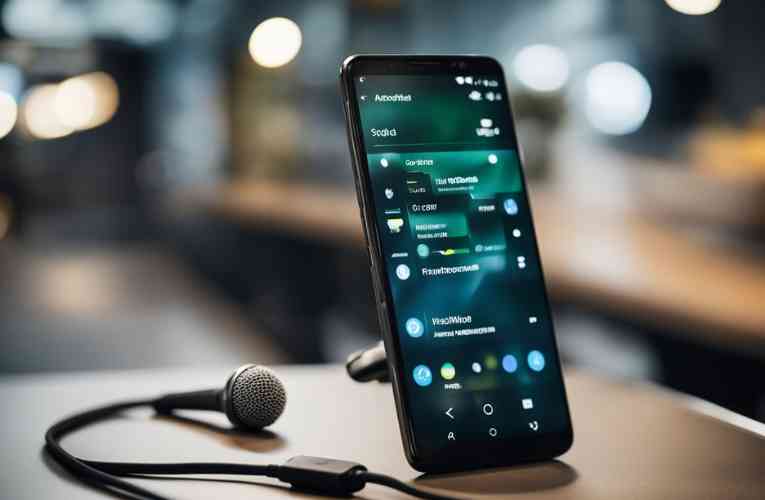
Before you start recording, you need to configure your Android device to use the external microphone. Here’s how:
- Open Settings: Open the Settings app on your Android device.
- Select Sound: Scroll down and select the Sound option.
- Choose Input: Under Input, select the External microphone option.
- Adjust Volume: Adjust the volume of your external microphone using the volume controls on your Android device.
That’s it! You’re now ready to start recording with your external microphone. Remember to test your setup before recording to ensure that everything is working correctly.
Recording with an External Microphone
If you want to improve the audio quality of your recordings on an Android device, using an external microphone is the way to go. Luckily, most Android devices support USB On-The-Go (OTG) which allows you to connect an external microphone to your device’s USB port. Here are some ways to record audio with an external microphone on Android.
Using Default Android Apps
The Voice Recorder app that comes pre-installed on most Android devices allows you to record audio using an external microphone. Simply connect your microphone to your device’s USB port, open the Voice Recorder app, and tap the Record button. Make sure to select your external microphone as the input source before recording.
If you want to record video with external audio, the default Camera app on some Android devices also allows you to use an external microphone. However, this feature is not available on all devices. You can check if your device supports this feature by going to the Camera app settings and looking for an option to select an external microphone.
Third-Party Recording Apps
There are also many third-party recording apps available on the Google Play Store that support external microphones. Some popular options include Easy Voice Recorder, RecForge II, and Hi-Q MP3 Voice Recorder. These apps offer more advanced features than the default Voice Recorder app, such as the ability to edit and share recordings.
When using a third-party recording app, make sure to select your external microphone as the input source in the app’s settings before recording.
Related Posts:
Troubleshooting Common Issues
Using an external microphone on Android can be a great way to improve the audio quality of your recordings, but it can also come with some challenges. Here are some common issues you may encounter and how to troubleshoot them.
Resolving Connectivity Problems
One of the most common issues when using an external microphone on Android is connectivity problems. If your microphone is not connecting to your device, make sure it is properly plugged in and that it is compatible with your device. Some microphones may require an adapter or a specific app to work properly.
If your microphone is still not connecting, try restarting your device and the microphone. You can also try resetting your device’s network settings, which can sometimes resolve connectivity issues.
Improving Audio Quality
Another common issue when using an external microphone on Android is poor audio quality. If your recordings sound muffled or distorted, try adjusting the microphone’s placement or distance from the sound source. You may also need to adjust the microphone’s volume or gain settings.
If you are still having audio quality issues, try using a different microphone or a different app. Some apps may have better audio processing capabilities than others, so it is worth experimenting with different apps to find the best one for your needs.
App-Specific Troubleshooting
If you are having issues with a specific app, there are a few things you can try. First, make sure the app has permission to access your microphone. You can check this in your device’s settings.
If the app still isn’t working, try clearing the app’s cache and data. This can sometimes resolve issues with app settings or corrupted files. You can also try uninstalling and reinstalling the app.
Related Posts:
- How to change external microphone volume on Android
- Fixing Delayed Audio on Android with External Mic
- How to Diagnose Android External Mic Problems
- Facebook Live and automatic detection of external microphones on Android
- Disable External Microphone Function on Android
Conclusion
In conclusion, using an external microphone on your Android device is a simple process. First, make sure you have a compatible external microphone with an audio jack. Then, locate the audio jack on your Android device and plug in the microphone. If you’re using a USB microphone, check your device compatibility before connecting it.
Once you’ve connected the microphone, open your recording app and start recording. Make sure to adjust the microphone settings to optimize the sound quality. You can also use third-party apps to enhance your recording experience.
Overall, adding an external microphone to your Android device can significantly improve the audio quality of your recordings. Whether you’re recording a podcast, vlog, or music, using an external microphone is a great way to capture clear and crisp audio.
Frequently Asked Questions
What steps are needed to connect a USB-C microphone to an Android device?
To connect a USB-C microphone to your Android device, you will need a USB-C to USB-A adapter. Once you have the adapter, simply plug the microphone into the adapter, then plug the adapter into your Android device. Your device should automatically recognize the microphone as a new audio input option.
How do I enable and select an external microphone as my default audio input on Android?
To enable and select an external microphone as your default audio input on Android, follow these steps:
- Connect your external microphone to your Android device.
- Open the Settings app on your Android device.
- Scroll down and tap on “System.”
- Tap on “Languages & input.”
- Tap on “Advanced.”
- Tap on “Input devices.”
- Tap on “Audio input.”
- Select your external microphone from the list of available options.
What are the best practices for recording video on Android using an external mic?
When recording video on Android using an external microphone, it is important to follow these best practices:
- Use a windscreen or pop filter to reduce wind noise and plosives.
- Position the microphone as close to the subject as possible to improve audio clarity.
- Monitor the audio levels to ensure that the sound is not too loud or too quiet.
- Use a tripod or stabilizer to prevent camera shake and ensure steady footage.
Which apps are recommended for optimizing external microphone use on Android phones?
There are several apps available for optimizing external microphone use on Android phones. Some popular options include Open Camera, Cinema FV-5, and Filmic Pro. These apps offer advanced audio settings and controls, such as gain adjustments, audio filters, and manual audio level adjustments.
Why isn’t my external microphone working with my Android device, and how can I troubleshoot it?
If your external microphone is not working with your Android device, there may be several possible reasons. Some common issues include:
- The microphone is not properly connected to the device.
- The microphone is not compatible with your device.
- The microphone is damaged or malfunctioning.
To troubleshoot the issue, try the following:
- Ensure that the microphone is properly connected to the device.
- Try using a different microphone to see if the issue is with the device or the microphone.
- Check for any software updates or compatibility issues with your device.
- Contact the manufacturer for further assistance.
Is it possible to use a wireless microphone with an Android phone, and how would I set it up?
Yes, it is possible to use a wireless microphone with an Android phone. To set it up, you will need a wireless microphone that is compatible with your Android device. Once you have the microphone, follow these steps:
- Turn on the wireless microphone and ensure that it is paired with your Android device.
- Open the Settings app on your Android device.
- Scroll down and tap on “System.”
- Tap on “Languages & input.”
- Tap on “Advanced.”
- Tap on “Input devices.”
- Tap on “Audio input.”
- Select your wireless microphone from the list of available options.
Keep in mind that some wireless microphones may require additional setup or configuration steps, so be sure to consult the manufacturer’s instructions for more information.