If you’re interested in audio recording or live sound, you’ve probably heard of XLR cables. They’re the standard for professional audio applications, including microphones. But what is the configuration of an XLR cable for a microphone?
In short, it’s a three-pin connector that ensures consistent connection and signal flow across different devices and systems.
The XLR cable is designed to transmit high-quality audio signals with minimal interference and noise. It’s widely used in recording studios, live sound reinforcement, and audio equipment interconnection. The basic configuration of XLR cables is standardized, with pin 1 as ground, pin 2 as positive, and pin 3 as negative. This balanced configuration helps minimize interference and noise in the signal.
Basic Configuration of XLR Cables
XLR cables are commonly used in professional audio setups, especially for microphones. These cables are designed to carry balanced audio signals, which help reduce noise and interference. In this section, we will discuss the pin assignments and balanced audio principles of XLR cables.
Pin Assignments
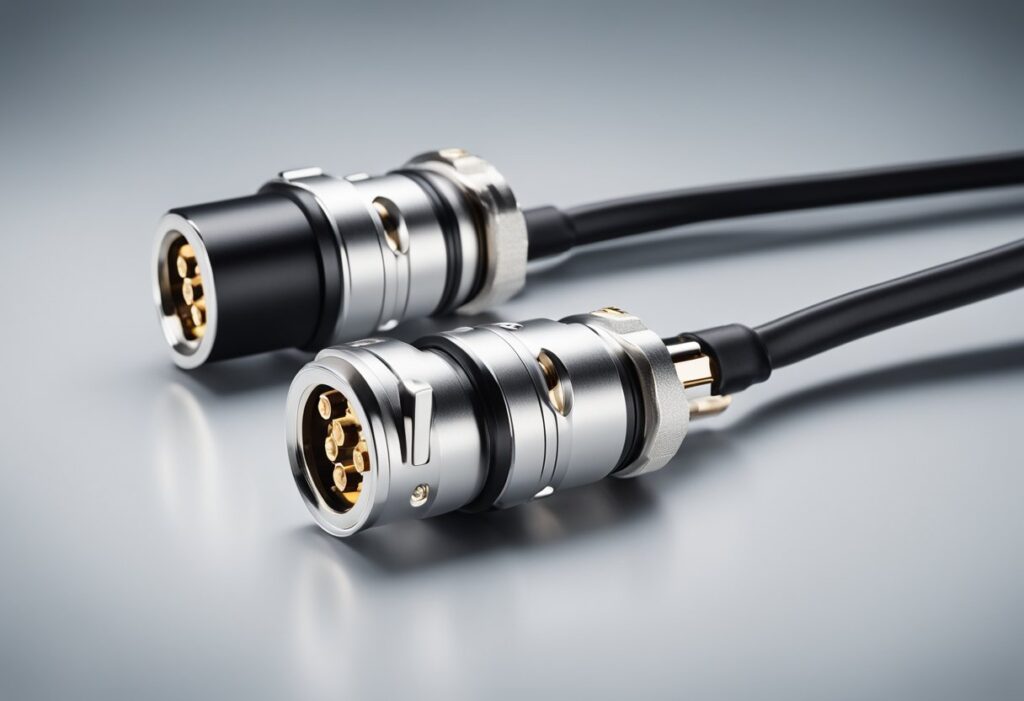
XLR cables have three pins, each with a specific function. Pin 1 is the ground or shield connection, which provides a path for electrical noise to be drained away from the audio signal. Pin 2 is the positive or hot connection, which carries the audio signal.
Pin 3 is the negative or cold connection, which also carries the audio signal but with an inverted polarity.
Balanced Audio Principles
The balanced audio principle is based on the idea of using two identical audio signals that are 180 degrees out of phase with each other. When these signals are combined, any noise or interference that is picked up along the cable is cancelled out.
This is because the noise and interference affects both signals equally, but when they are combined, they cancel each other out.
To achieve this, XLR cables use the negative or cold connection as a mirror image of the positive or hot connection. When the two signals are combined, any noise or interference that is picked up along the cable affects both signals equally but with opposite polarity. This means that when the signals are combined, the noise and interference cancel each other out, leaving only the clean audio signal.
Related Posts:
What is the Configuration of a XLR Cable for a Microphone

When it comes to connecting a microphone to an audio system, an XLR cable is often the preferred choice. XLR cables are widely used in the audio industry due to their ability to transmit high-quality audio signals with minimal interference and noise.
3-Pin XLR Connectors
The 3-pin XLR connector is the most common type of XLR cable used for microphones. It is a balanced cable that consists of three pins arranged in a specific configuration. Pin 1 is the ground connection, Pin 2 is the positive (hot) connection, and Pin 3 is the negative (cold) connection.
The positive and negative connections work together to cancel out any noise or interference that may be present in the signal.
4-Pin XLR Connectors
4-pin XLR connectors are less common than 3-pin connectors but are still used in some microphones. They are often used in stereo microphones or microphones that require additional power.
The pins are arranged in a specific configuration, with Pin 1 being the ground connection, Pin 2 being the left channel positive connection, Pin 3 being the right channel positive connection, and Pin 4 being the negative connection for both channels.
5-Pin XLR Connectors
5-pin XLR connectors are even less common than 4-pin connectors and are generally only used in specialized applications. They are often used in surround sound microphones or microphones that require additional power.
The pins are arranged in a specific configuration, with Pin 1 being the ground connection, Pin 2 being the left channel positive connection, Pin 3 being the right channel positive connection, Pin 4 being the center channel positive connection, and Pin 5 being the negative connection for all channels.
Related Post
Cable Wiring Techniques
When it comes to wiring an XLR cable for a microphone, there are two important techniques that you need to know about: soldering XLR connectors and cable shielding.
Soldering XLR Connectors
Soldering is the process of joining two metal parts together using a heated metal alloy. In the case of XLR connectors, soldering is used to connect the three pins of the connector to the three wires of the cable.
It is important to use the right type of solder and to heat the metal parts evenly to ensure a strong and reliable connection.
To solder an XLR connector, you will need a soldering iron, solder, and a wire stripper. First, strip the outer insulation of the cable to expose the three wires inside. Then, strip the insulation of each wire to expose the bare metal. Next, insert each wire into the appropriate pin of the XLR connector and solder the connection. Finally, cover the connection with heat shrink tubing to protect it from damage.
Cable Shielding
Cable shielding is an important technique that is used to reduce interference and noise in the audio signal. Shielding involves wrapping the cable with a conductive material, such as copper or aluminum foil, to create a barrier between the cable and any external sources of interference.
To shield an XLR cable, start by wrapping the cable with a layer of conductive tape or foil. Make sure that the tape or foil is in contact with the metal shield of the connector. Then, cover the tape or foil with a layer of insulating material, such as heat shrink tubing or electrical tape. This will protect the shield from damage and ensure that it remains in place.
Related Posts:
Conclusion
In conclusion, XLR cables are essential for connecting microphones to audio equipment. The three-pin configuration of XLR cables ensures consistent connection and signal flow across different devices and systems. XLR cables are commonly used in professional audio applications due to their durability, reliability, and ability to carry balanced signals. When connecting an XLR cable to a microphone, make sure to match the pins correctly, with the ground pin connected to the microphone’s ground, the positive pin connected to the microphone’s positive, and the negative pin connected to the microphone’s negative. With proper configuration and use, XLR cables can greatly enhance the quality of audio recordings and live performances.
Frequently Asked Questions
How do you wire a male XLR connector for microphone use?
To wire a male XLR connector for microphone use, you need to connect the three pins of the XLR connector to the three wires of the microphone cable. Pin 1 is connected to the shield wire, pin 2 is connected to the positive wire, and pin 3 is connected to the negative wire. Make sure to use the correct wire color codes to ensure proper wiring.
What is the standard pinout for an XLR microphone cable?
The standard pinout for an XLR microphone cable is as follows: Pin 1 is the ground or shield wire, Pin 2 is the positive wire, and Pin 3 is the negative wire. This configuration is known as a balanced audio signal and is used to reduce noise and interference in professional audio recording.
How can you convert an XLR cable to a jack for audio equipment?
To convert an XLR cable to a jack for audio equipment, you need to use a special adapter that matches the impedance and wiring configuration of the XLR cable. The adapter typically has a female XLR connector on one end and a male jack on the other end. Simply plug the XLR connector into the adapter and plug the jack into the audio equipment.
What are the functional differences between male and female XLR connectors?
The functional differences between male and female XLR connectors are mainly in their physical design and intended use. Male XLR connectors have pins that plug into female XLR connectors, while female XLR connectors have receptacles that accept male XLR connectors. Male XLR connectors are typically used on microphones and other audio equipment, while female XLR connectors are used on cables and adapters.
What do the different prongs on an XLR connector signify?
The different prongs on an XLR connector signify the different pins that carry the audio signal and power. Pin 1 is the ground or shield wire, Pin 2 is the positive wire, and Pin 3 is the negative wire. Some XLR connectors may have additional pins for carrying phantom power or other signals.
What purpose does an XLR cable serve in professional audio recording?
An XLR cable serves the purpose of transmitting a balanced audio signal from a microphone or other audio equipment to a mixing console, amplifier, or other recording device. XLR cables are preferred in professional audio recording because they provide a high-quality, low-noise signal that is less susceptible to interference and noise.