Do you struggle with plugging in your XLR microphone into your DSLR camcorder? It can be a daunting task for beginners to figure out the right equipment and adapters needed to get the job done.
But fear not, as we have got you covered with this comprehensive guide on how to plug in your XLR microphone into your DSLR camcorder.
Understanding XLR Microphones and DSLR Camcorders
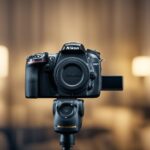
If you want to record high-quality audio with your DSLR camcorder, you need to connect an XLR microphone to it. XLR microphones are professional-grade microphones that offer superior sound quality and noise reduction. DSLR camcorders, on the other hand, are great for recording high-quality video, but their built-in microphones are not good enough for professional-level audio recording.
Types of XLR Microphones
XLR microphones come in different types, including dynamic, condenser, and ribbon microphones. Dynamic microphones are the most common type of XLR microphone and are great for recording vocals and instruments. Condenser microphones are more sensitive than dynamic microphones and are ideal for recording acoustic instruments and vocals. Ribbon microphones, on the other hand, are great for recording stringed instruments and brass instruments.
DSLR Camcorder Audio Inputs
DSLR camcorders have different types of audio inputs, including 3.5mm jack, mini-XLR, and XLR. If your DSLR camcorder has a 3.5mm jack, you can connect an XLR microphone to it using an XLR to 3.5mm jack adapter cable. If your DSLR camcorder has a mini-XLR input, you can connect an XLR microphone to it using a mini-XLR to XLR cable. If your DSLR camcorder has an XLR input, you can directly connect an XLR microphone to it.
It is important to note that some DSLR camcorders do not have a built-in preamp, which is necessary to boost the signal from the XLR microphone. In such cases, you will need to use an external preamp or an audio recorder with a built-in preamp.
Related Posts:
Required Equipment and Adapters
To connect your XLR microphone to your DSLR camcorder, you will need some additional equipment and adapters. In this section, we will discuss the two main types of adapters that you will need: XLR to 3.5mm adapters and preamps/audio interfaces.
XLR to 3.5mm Adapters
XLR to 3.5mm adapters are necessary if your DSLR camcorder only has a 3.5mm input jack and your XLR microphone has an XLR output. These adapters are relatively inexpensive and can be found at most audio equipment stores or online.
When choosing an XLR to 3.5mm adapter, it is important to choose a high-quality adapter that will not degrade the sound quality of your microphone. Look for adapters that are shielded to prevent interference and have a high-quality connector.
Preamps and Audio Interfaces
If you want to achieve the best possible sound quality, you should consider using a preamp or audio interface. These devices will amplify the signal from your microphone and provide additional control over the sound.
A preamp is a device that amplifies the signal from your microphone before it reaches your DSLR camcorder. Preamps can be standalone devices or built into audio interfaces. They are often used by professional musicians and audio engineers to achieve the best possible sound quality.
An audio interface is a device that connects your XLR microphone to your computer or DSLR camcorder. Audio interfaces often have built-in preamps and provide additional control over the sound, such as EQ and gain control.
When choosing a preamp or audio interface, it is important to choose a device that is compatible with your DSLR camcorder and provides the features that you need.
Related Posts:
How Do You Plug a XLR Microphone into a DSLR Camcorder

If you have a DSLR camcorder and want to improve the audio quality of your videos, you may want to use an XLR microphone. Here is a step-by-step guide on how to connect your XLR microphone to your DSLR camcorder.
Step-by-Step Connection Guide
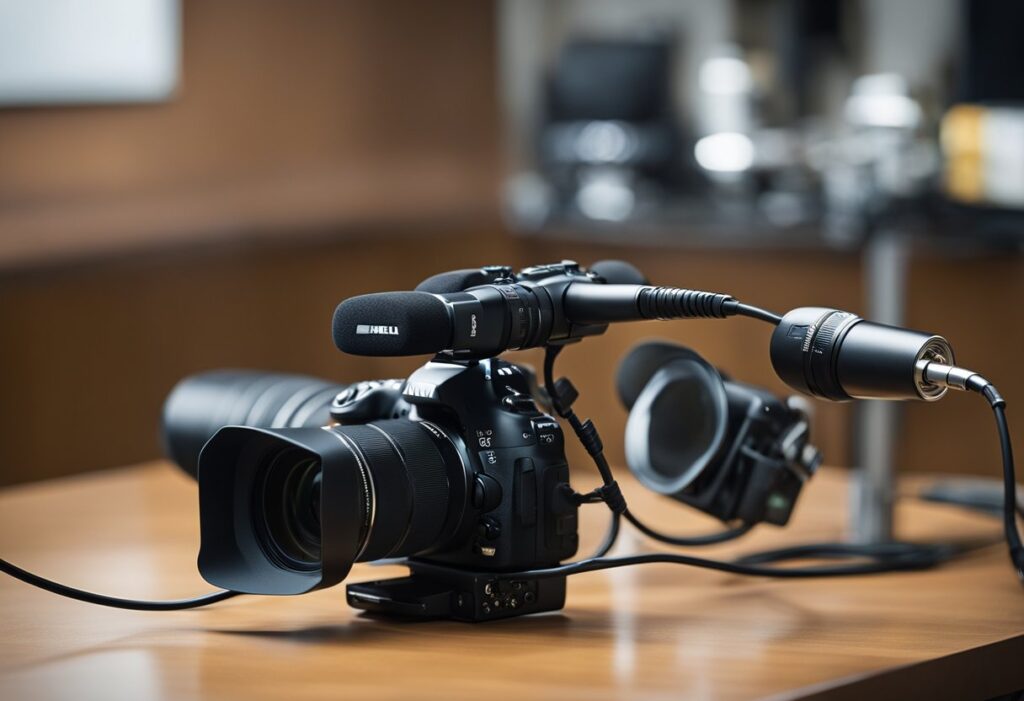
- First, you need to make sure that your DSLR camcorder has an external microphone input. It is usually a 3.5mm jack located on the side of the camera.
- Next, you need to get an XLR to 3.5mm adapter cable. This cable will allow you to connect your XLR microphone to your DSLR camcorder.
- Connect the XLR end of the adapter cable to your microphone.
- Connect the 3.5mm end of the adapter cable to the external microphone input on your DSLR camcorder.
- Turn on your DSLR camcorder and your XLR microphone.
- Check the audio levels on your DSLR camcorder to make sure that the sound is coming through clearly.
Setting Audio Levels
Once you have connected your XLR microphone to your DSLR camcorder, you need to set the audio levels to ensure that the sound is not too loud or too soft. Here are some tips on how to set the audio levels:
- Start by setting the audio levels to the lowest setting.
- Speak into your XLR microphone at a normal volume.
- Check the audio levels on your DSLR camcorder. If the levels are too low, increase the audio levels gradually until you get a good level.
- If the levels are too high, decrease the audio levels until you get a good level.
- Repeat steps 2-4 until you get the desired audio level.
Related Posts:
- Simple Steps to Connect XLR Microphones to Computer
- Guide to Using an External XLR Microphone on Android
- Easy ways to link your iPhone with an XLR microphone
Optimizing Audio Quality
When it comes to optimizing the audio quality of your DSLR camcorder, there are a few things to consider. Your microphone placement and environmental factors can have a significant impact on the overall sound quality of your recording.
Microphone Placement
The placement of your microphone can greatly affect the quality of your audio. It is essential to place the microphone in the right position to achieve the best sound. The general rule of thumb is to position the microphone as close to the sound source as possible. This will help to minimize background noise and ensure that the sound is clear and crisp.
If you are using an XLR microphone, you will need to connect it to your DSLR camcorder using an XLR to 1/8″ cable. Once you have connected the microphone, you can adjust the levels on your camcorder to achieve the desired sound. Be sure to test the sound before you start recording to ensure that everything is working correctly.
Environmental Considerations
Environmental factors can also have a significant impact on the quality of your audio. If you are recording in a noisy environment, such as a busy street or a crowded room, it can be challenging to achieve good sound quality. Consider using a windscreen or a pop filter to minimize wind noise or popping sounds caused by plosive consonants.
If you are recording in a quiet environment, you may need to adjust the levels on your camcorder to avoid picking up any background noise. It is also a good idea to monitor your audio using headphones to ensure that you are capturing the sound you want.
Conclusion
In conclusion, connecting an XLR microphone to a DSLR camcorder is a simple process that requires the proper equipment and some basic knowledge. By using an XLR to 3.5mm adapter or a portable audio recorder, you can easily connect your microphone to your camera and improve the audio quality of your recordings. Remember to enable phantom power if your microphone requires it and adjust the levels to avoid clipping.
To summarize, here are the steps to connect an XLR microphone to a DSLR camcorder:
- Choose the proper equipment, such as an XLR to 3.5mm adapter or a portable audio recorder.
- Connect the microphone to the adapter or recorder using an XLR cable.
- Connect the adapter or recorder to your camera using a 3.5mm cable.
- Enable phantom power if necessary and adjust the levels to avoid clipping.
By following these steps, you can achieve professional-quality audio for your video recordings.
Frequently Asked Questions
What equipment is needed to connect an XLR microphone to a DSLR camcorder?
To connect an XLR microphone to a DSLR camcorder, you will need an XLR cable and an adapter. The adapter will depend on the type of camera you have. Many cameras require a 3.5mm TRS to 1/4″ TRS cable, while others require a 3.5mm TRS to 3.5mm TRS cable. Some cameras also require an additional preamp to boost the microphone’s signal.
Can you use a wireless XLR microphone with a DSLR camera, and if so, how?
Yes, you can use a wireless XLR microphone with a DSLR camera. You will need a wireless XLR transmitter and receiver set, which will transmit the audio signal wirelessly to the camera. Make sure that the wireless transmitter and receiver are on the same frequency and are within range of each other.
What are the steps to hook up a Shure XLR microphone to a DSLR camera?
To hook up a Shure XLR microphone to a DSLR camera, you will need an XLR cable and an adapter. First, plug the XLR cable into the Shure microphone. Then, plug the other end of the XLR cable into the adapter. Finally, plug the adapter into the camera’s 3.5mm microphone input.
Is there a specific adapter for attaching an XLR mic to a Canon DSLR?
Yes, there are specific adapters for attaching an XLR mic to a Canon DSLR. One popular option is the Canon XLR Adapter, which provides two XLR inputs and a 3.5mm input. Another option is the Beachtek DXA-MICRO PRO, which provides two XLR inputs and a headphone output.
How do you interface an XLR microphone with a camera that lacks XLR inputs?
To interface an XLR microphone with a camera that lacks XLR inputs, you will need an XLR to 3.5mm adapter. This adapter will allow you to plug the XLR cable into the adapter and then plug the adapter into the camera’s 3.5mm microphone input.
What solutions exist for using an XLR microphone with a PC?
To use an XLR microphone with a PC, you will need an audio interface that can convert the XLR signal to USB. Some popular options include the Focusrite Scarlett Solo, the PreSonus AudioBox USB 96, and the Behringer U-Phoria UM2.